Welcome to the picoCTF Pachinko walkthrough, where we’ll guide you step-by-step to unlock the first flag in this tricky challenge. If you’re scratching your head trying to figure out how to crack the code in the NAND simulator, don’t worry—this guide has got your back. Get ready to dive in, click your way to success, and grab that first flag like a pro!
Introduction: A Puzzle That Will Have You Clicking
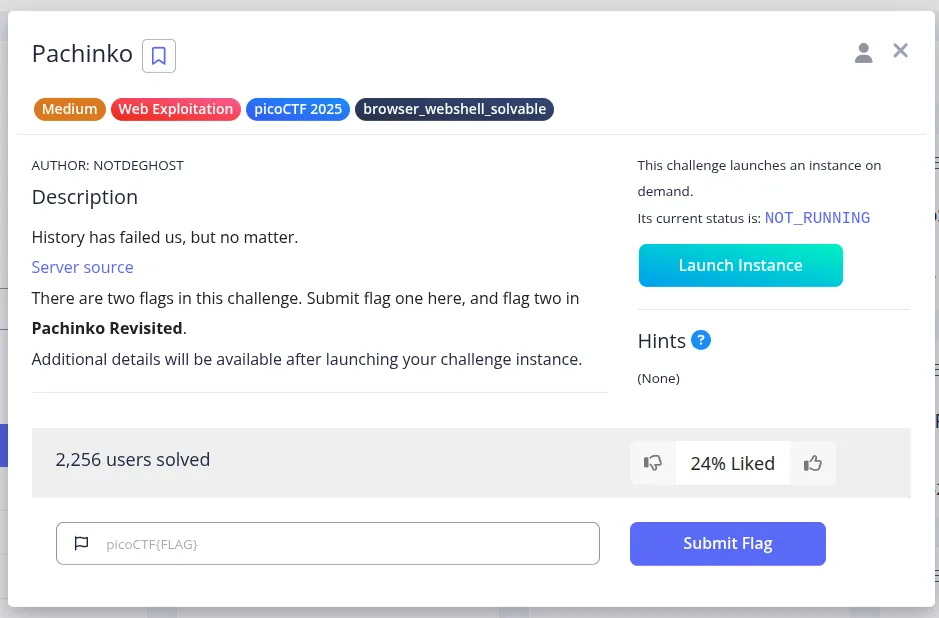
Oh, the beauty of a good challenge. If you’re here, it’s because you’re staring at that NAND simulator like it’s a puzzle box that just won’t open. But don’t sweat it! You’ve come to the right place for a fun, straightforward, and maybe even humorous solution to the picoCTF Pachinko challenge.
The goal? Simple: Get the first flag. That’s it. Don’t worry about the complex back-end magic or the jargon. We’ll break it down step-by-step.
Step-by-Step Walkthrough: picoCTF Pachinko Walkthrough
1. Start the NAND Simulator
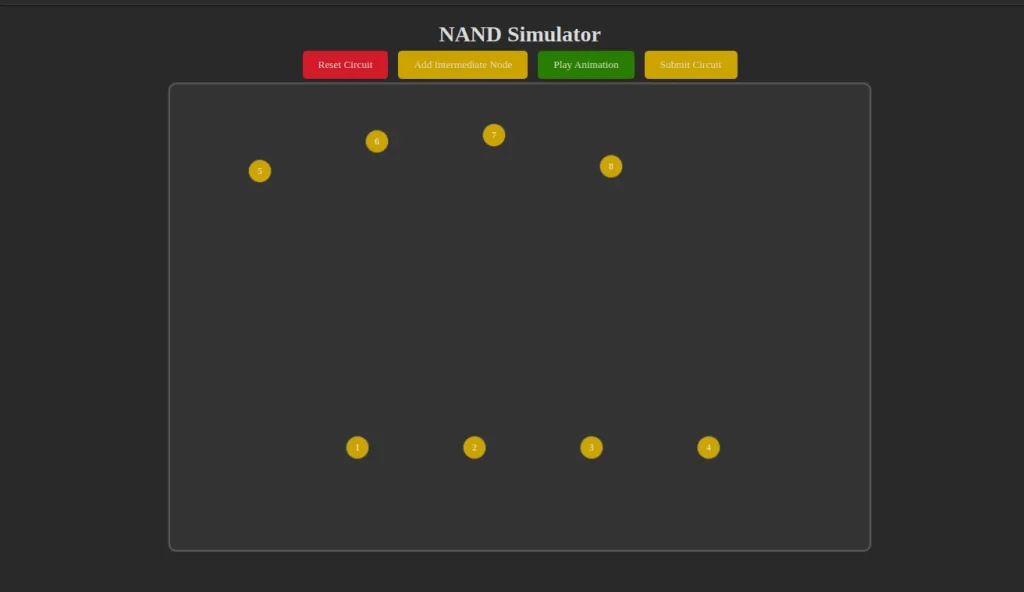
First, you’ll need to fire up the NAND simulator. Yes, that thing. Click on it, play around with the nodes (you know, the yellow circles), and start thinking of them as your new best friends. You’re not playing Pong here, buddy – you’re in the big leagues now.
2. Pick a Random Node

Ah, the random node. You could spend hours pondering over which one to pick, but here’s a pro tip: Just pick any random node! There’s no secret formula to this. Seriously. Start with the first one that looks good to you.
3. Submit It and Inspect
Once you’ve clicked on the node, hit that submit button like you’re sending off your college application (no pressure, right?). After submitting, it’s time to break out the tools of the trade: Inspect the page!
4. Fire Up the Network Tab
Now, it’s time for some detective work. Go to your browser’s Network tab. This is where the magic happens. It’s like you’re peeking behind the curtain to see the wizard at work.
5. Resend and Repeat
Here’s the fun part. After hitting submit, you’ll need to resend the request. You know, like pressing a button and hoping for the best – but in a more strategic way. Keep doing this, and like a good game of Pachinko, you’ll eventually drop that shiny flag. Here’s where the fun starts.
6. The Flag is in the Response
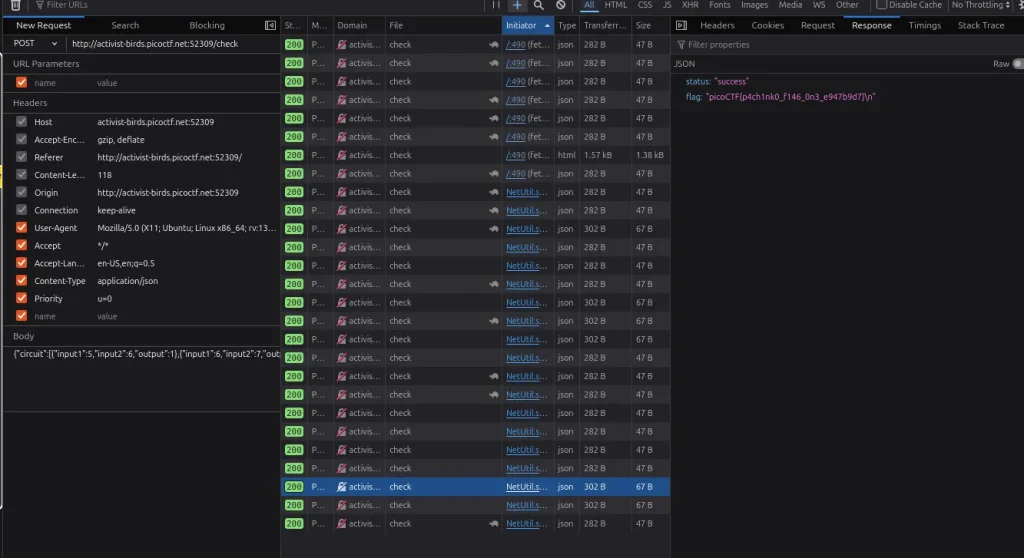
After a few clicks (you know, after your hand’s gotten a bit tired from all that clicking), you’ll finally see that sweet flag. It will pop up in the response section like it’s an unexpected prize in a vending machine. You’ll be shouting “PicoCTF, here I come!”
The Final Flag: The Moment You’ve Been Waiting For
After repeating the steps above, you’ll get the coveted first flag. The flag will appear like a winning lottery ticket:
picoCTF{p4ch1nk0_f146_0n3_e947b9d7}
That’s the one! Now you’re one step closer to unlocking the next flag in Pachinko Revisited. But hey, let’s not get ahead of ourselves. Enjoy the victory of flag one first.
Pro Tips: What You Didn’t Know You Needed
- Patience is Key: If at first, you don’t succeed, keep clicking. Don’t give up. Sometimes it takes a few rounds to see the results.
- Network Tab Ninja Moves: Learn how to use the Network tab like a pro. It’s your secret weapon for all the behind-the-scenes action.
- Resend, Resend, Resend: The more you resend, the closer you get to that elusive flag. Think of it like getting extra turns in an arcade game.
Conclusion: (picoCTF Pachinko Walkthrough)
That’s it! You’ve unlocked the first flag, and now you’re ready to take on Pachinko Revisited for Flag 2. The steps are simple, the clicks are plentiful, and your victory is inevitable. All you need is a little patience, a dash of curiosity, and a whole lot of clicking.
Keep those detective skills sharp, and soon you’ll be a picoCTF pro. Until next time, happy hacking!